
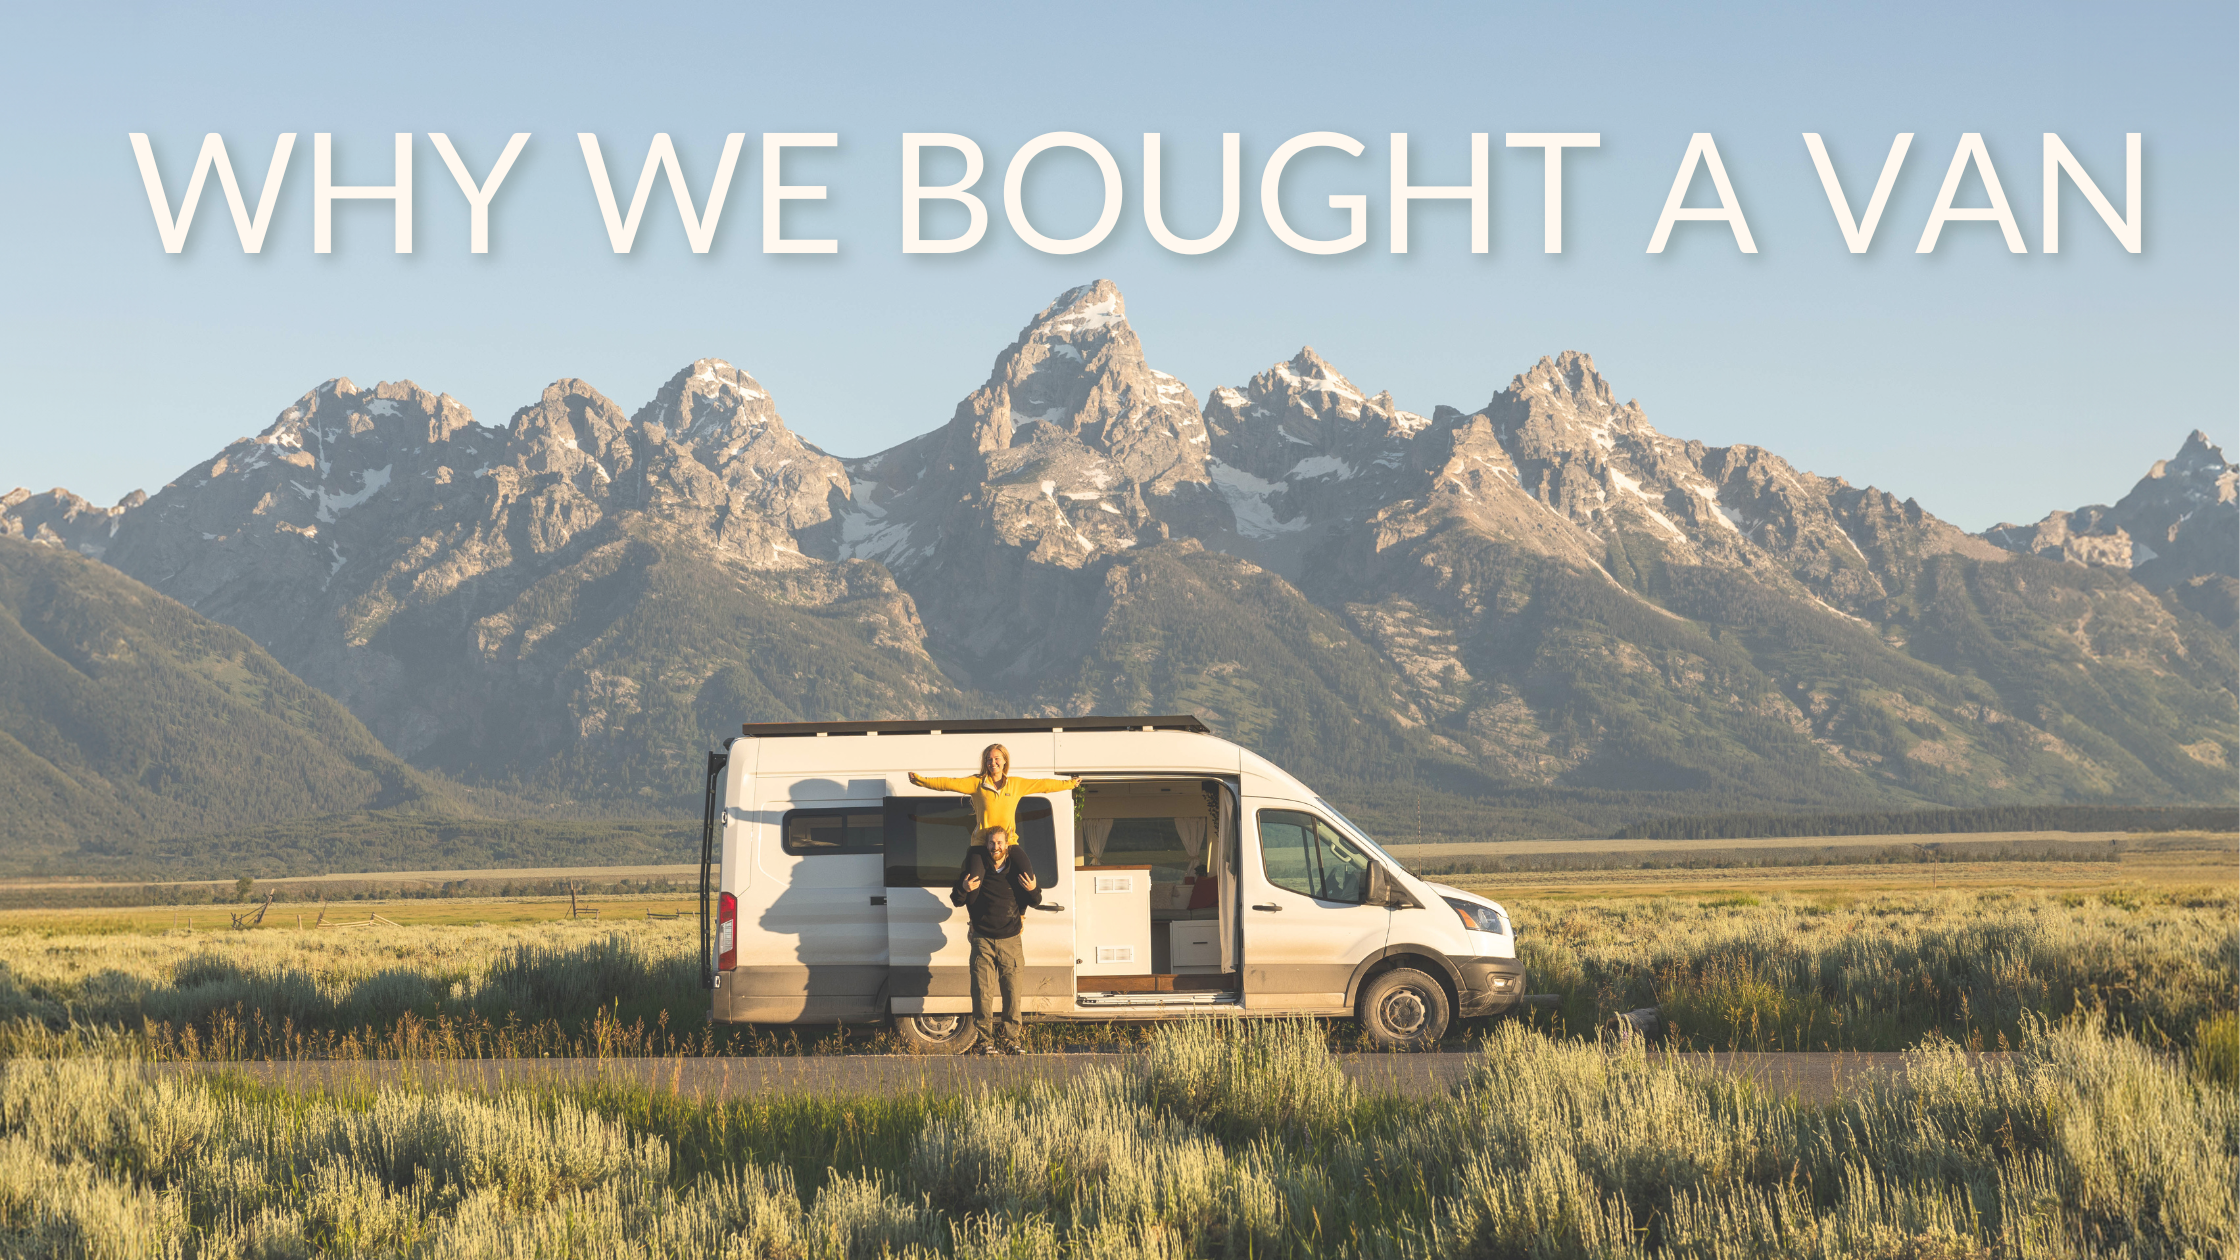
Why We Bought a Van
We’re so excited to share our van build blog series where we’ll go into much more detail on our thought process and how we built our van. In case you didn’t know we’ve named our van fernweh! Follow along to see us build our dream campervan with no prior experience.
fernweh - longing for distant places
Why we wanted to build a camper van

Our van in Australia - 2016
After traveling for 2 years abroad back in 2015 - 2017, and having lived out of camper vans in Australia and New Zealand, we knew we eventually would have to build our own back in Canada. We fell in love with the freedom and excitement that van life gave us and we worked really hard towards making our dreams come true back home in Canada. Travelling is both our passion and a large part of what we do for work and we were getting really tired of sleeping out of the back of a small SUV for weeks at a time. We hope that having the van will allow us to have longer trips that last months and try to slow down our travels and embrace where we are. Constantly traveling and working on the road can really wear you down and now with the van we can make sure we’re taking better care of ourselves. Having a van feels like a luxury compared to sleeping out of a car!
We decided to build our own instead of buying one already built because we wanted the experience and challenge that would come from building our own. Building a van from scratch has given us so much confidence! You truly can do whatever you want if you put all your effort into it. something. We’re so incredibly proud of this van!
The Specs
Fernweh is a 2022 Ford Transit Ecoboost with a high roof, long wheelbase, and extended body. We ordered Fernweh directly from a Ford dealer and added a few modifications. We added a 360 degree camera, two back windows, one crew door window, 10 way powered and heated seating, and a bigger display for the centre console.
New vs Used
The reason why we bought brand new was because at the time used car prices were at all time highs from the pandemic. We were able to customize a van and order brand new from the factory and it didn’t end up costing much more than what used cargo vans were selling for. The downside is that we ended up waiting one year for our van to be delivered. On the bright side we used that time to plan out our build and we started purchasing supplies and our appliances so that we’d be ready for when the van was delivered.
Layout & Must Haves
We’ve rented out lots of camper vans in the past so we had a pretty good idea of what we liked and what didn’t work for us. Must have list for us was as follows:
Fixed bed with a garage underneath
Outdoor shower
Hot water tank
Lots of storage
Queen size bed
A sitting area for working and eating
Lots of natural light
Toilet
Ventilation
A good electrical system with lots of battery storage
Ten Things to Consider
1. Timeline
We knew going into the van build that everything would take longer than we expected but you don’t really realize this until you start building. Don’t underestimate how much time it’ll take to research as well. Our goal was to complete the van in 4 months. It ended up taking a year with about 6 months of actual work as we weren’t home all year.
2. Van Size
We bought a Ford Transit, high roof, long wheel base, extended because we wanted lots of storage, and for Chris to be comfortable standing up in the van and laying across the van when in the bed.
3. Where to Start
After the layout was determined we started researching bigger/expensive items and items that were going to be used earlier in the build. The bigger items would give us a better idea of how much space will be left for the rest of the build. It’s important to look at how long items will take to be delivered especially if they are necessary before moving on to the next steps. We bought some items well before we needed them, like our fridge, main electrical system pieces, the Maxx Air Fan, the wood butcher block, water tanks, sink & faucet, and the windows. Don’t be surprised if some items have a 4-6 week wait for delivery, especially in Canada!
4. Build Location
We live in Vancouver, Canada aka “Raincouver” and didn’t always have access to a covered area big enough to park the van under which made working in the rain difficult. Luckily Julia’s dad has a farm in the Okanagan with tons of space and a large barn that we drove to once in awhile and used for bigger projects that required the covered space.
5. Tools
The easiest way to figure out what tools you’ll need is by reading blogs for van builds. (each blog we write about the van build will outline what tools and materials we used)
Buying all the tools for a van build can get expensive. Luckily we didn’t have to spend much on tools as Chris used to work for a tool company and had access to the best tools in the world! Yes, we might be biased but in Chris’ opinion Milwaukee power tools are the best.
If you don’t have access to tools, you can rent almost anything at Home Depot
6. Standard vs Premium Materials
We saved money where we could but there were some items we chose to spend a little extra on. For example our wiring was quite expensive because it was heat and water resistant, and we didn’t want to cheap out on something that could cause a fire. Having good wiring was important especially because of all the shaking and movement from being on the road, as well as the elements like heat and water that could get in.
We wanted nice appliances so we spent extra on our sink and faucet, which we are really happy with.
For wood we opted for the standard building lumber instead of premium woods. Lumber was already expensive and we couldn’t justify the cost of premium woods. For example we could have used baltic birch instead of standard plywood and our countertops are made of alder that we stained a walnut color instead of buying a walnut butcher block.
7. Appliances
Research other van builds on youtube and blogs. Research and compare brands and decide what’s best for your build and your budget. We went full electic system because we didn’t want propane
8. Electricity Needs
By using an online Van Electrical Calculator! Once we knew everything that required electricity we used online resources to input all of our 12v and 120v loads. This allowed us to figure out the size of each component of the electrical system, including solar, batteries, inverter, DC-DC charger and shore power. Our set up is from battleborn batteries and we love it! It is perfect for our needs.
9. Winterizing
Think about weather or not you need to winterize your van. We didn’t feel that we needed to since we would be spending more time in the sun and we live in a mild climate.
10. Plan for the Future
Think about leaving space for things you may want down the line. You may want to have a bit of extra wiring in the walls to add things like another light, WiBoost, Heater, etc.
Thank you for reading! Let us know below if you have any questions!


